How to read a Hexaflood score
What the 0–100 number means, what the five categories tell you, and why some places show two scores.
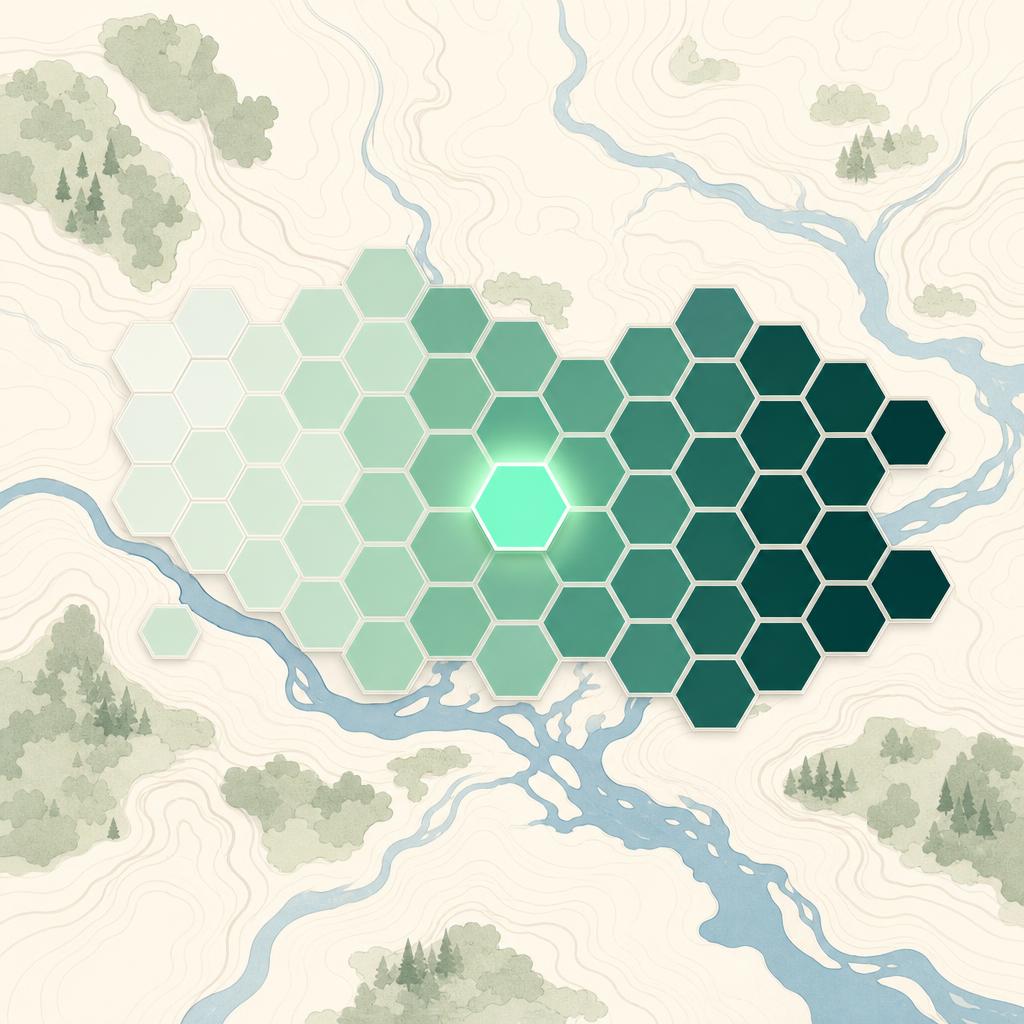
Every hexagon on the Hexaflood map carries one headline number between 0 and 100. It answers a single question: how naturally does this patch of terrain collect water? Low numbers mean the landform sheds water — it sits well above the local drainage, on ground with somewhere for water to go. High numbers mean the landform gathers it — low-lying, flat, in the path of upstream runoff.
It is a reading of the land, not a prediction of any particular event. Think of it the way a surveyor thinks about a damp-prone wall: a property of the structure, worth knowing before you commit to anything.
The five categories
To keep the map legible, scores group into five bands:
| Score | Category | What the terrain is doing |
|---|---|---|
| 0–19 | Very Low | Well above local drainage; water has no way to gather here. |
| 20–39 | Low | Comfortably elevated or well-drained; edge cases only. |
| 40–59 | Moderate | Mixed signals — closer to drainage, flatter, or receiving some upstream flow. |
| 60–79 | High | Low-lying relative to the drainage network; water naturally heads this way. |
| 80–100 | Very High | The collecting ground of the landscape: valley floors, basins, reclaimed lowland. |
Why some places show two numbers
In defended landscapes — the Dutch polders are the textbook case — the headline score reflects recognised flood defences: dikes, barriers, engineered drainage. Alongside it you'll see the without defences value: what the bare terrain would score if the engineering weren't there.
Both numbers matter. The protected score describes the situation as it stands. The raw score tells you what the defences are actually holding back — and how much depends on their upkeep. A 25 protected over a 90 raw is a very different proposition from a 25 over a 30, even though the headline looks the same.
Using the score well
A few habits make the score genuinely useful:
- Compare, don't just read. The score earns its keep when you put two candidate addresses side by side. The Explorer's compare mode does exactly this.
- Check the factors. Every score breaks down into its terrain ingredients — height above drainage, slope, upstream catchment. The why is often more informative than the number.
- Mind the two-score gap. In defended areas, the distance between protected and raw scores is a measure of how much you're relying on infrastructure.
Open the Explorer, look up somewhere you know well, and read the full breakdown. Five minutes with a familiar address is the fastest way to calibrate what the numbers mean.